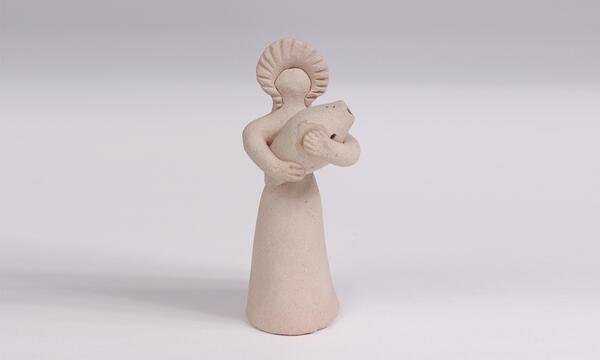
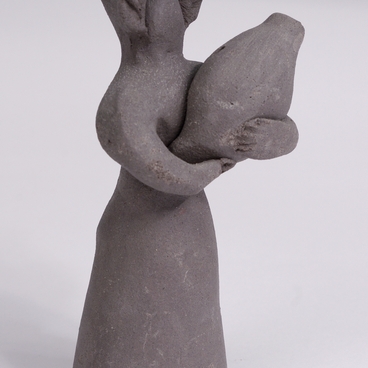
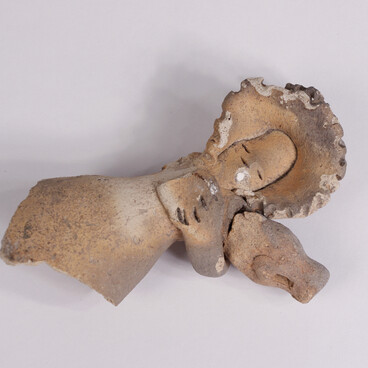
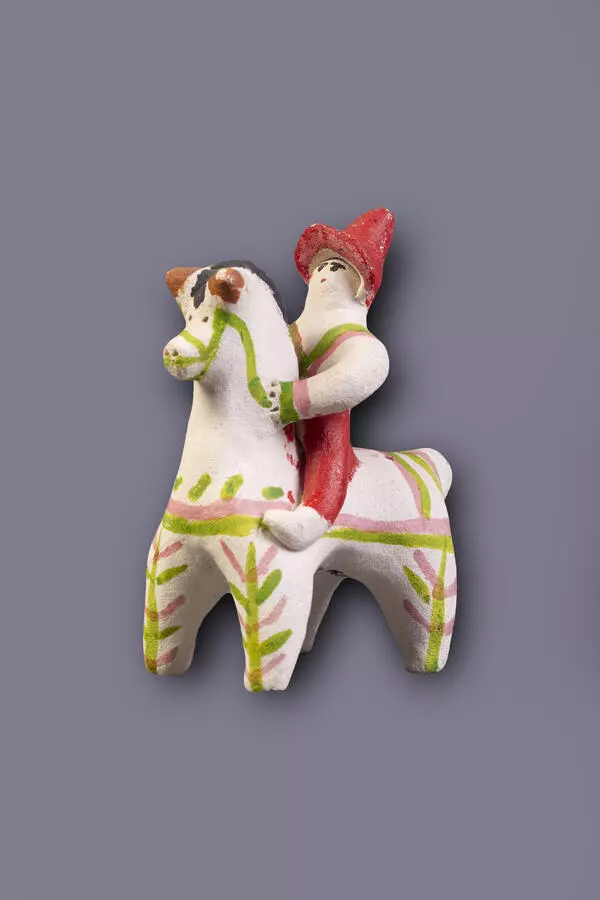
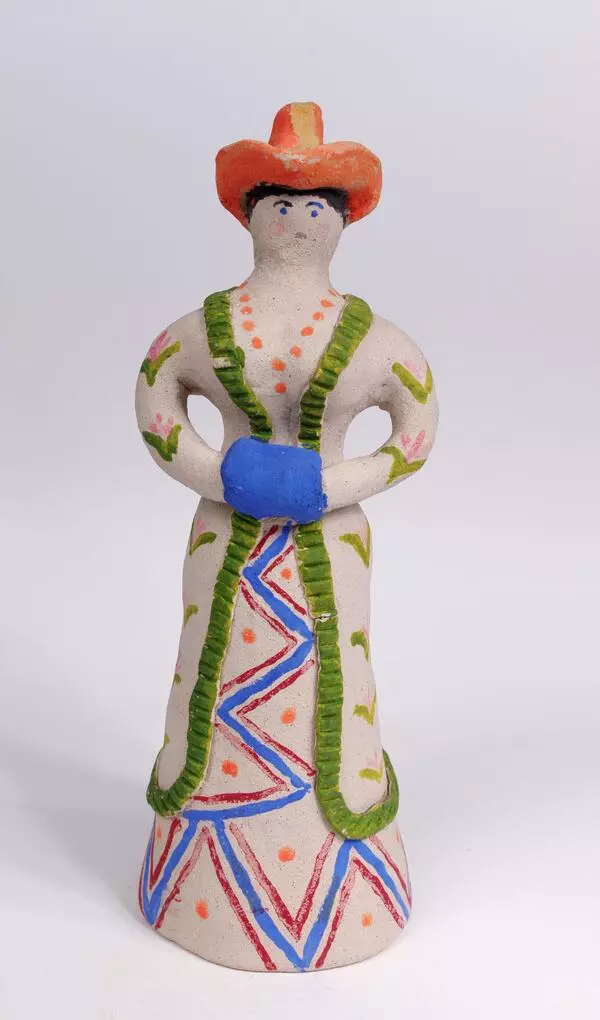
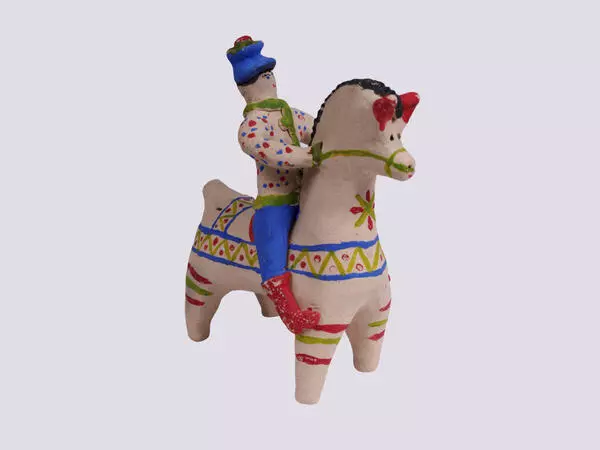
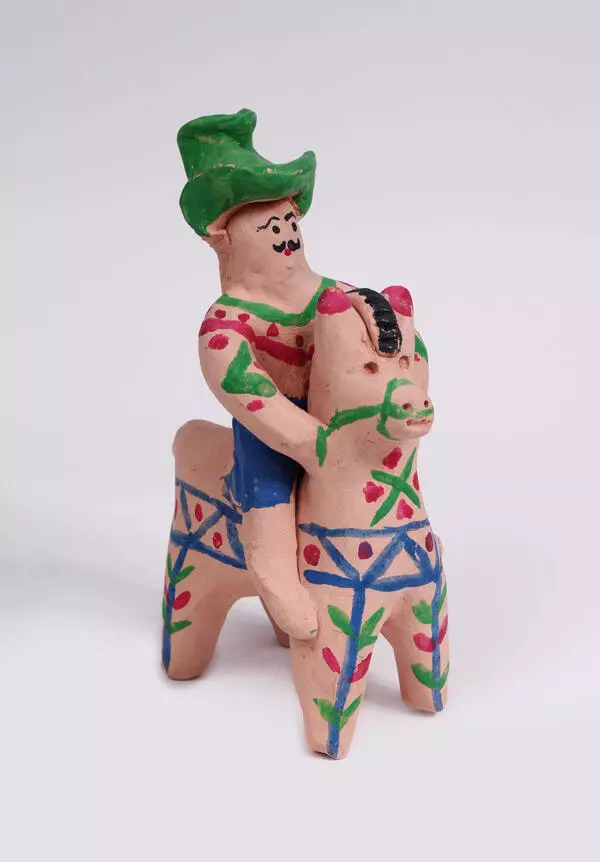
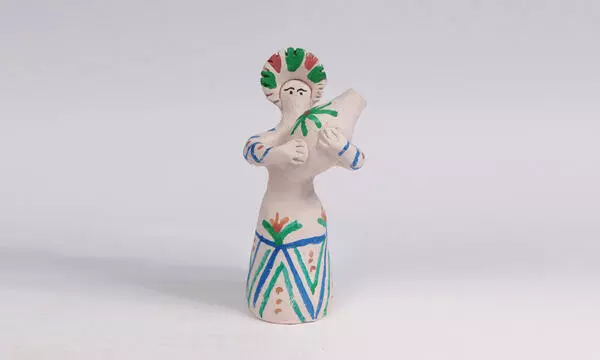
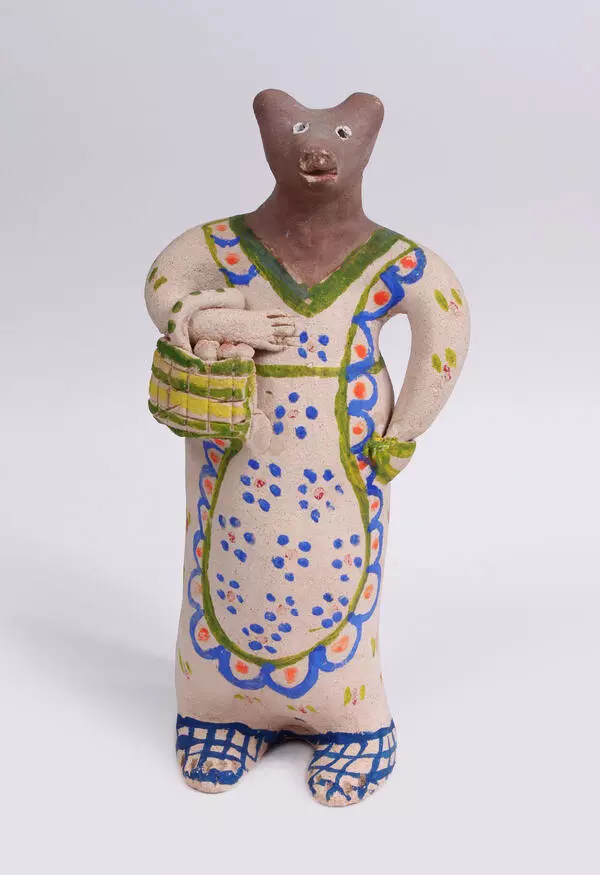
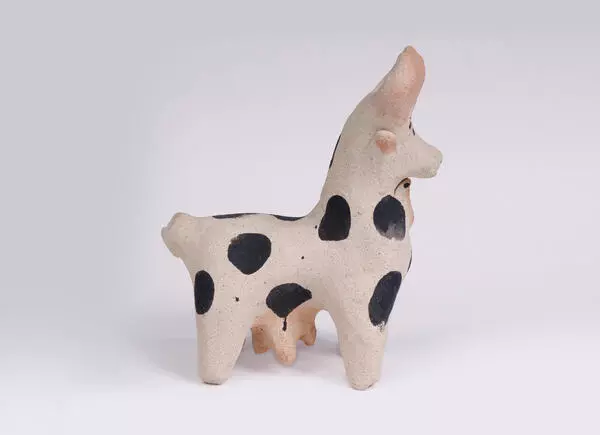
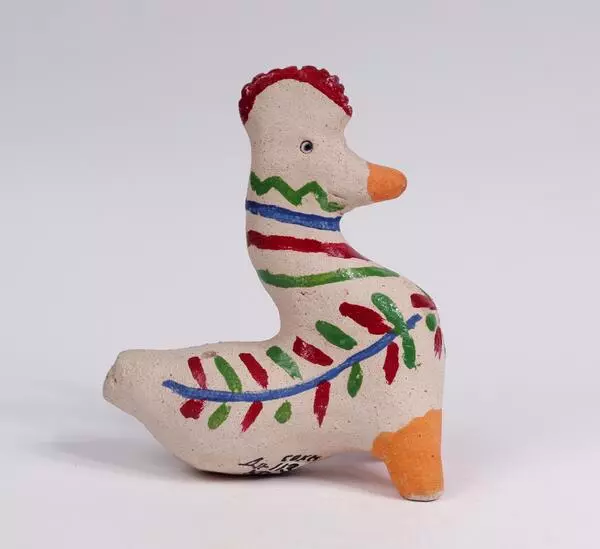
This figure is a fired and ready-to-paint toy ‘Damsel with a whistle’. The sisters Olga and Natalia Goncharova sculpted it in the 1990s. It took them about 10–12 minutes to make a figurine like this one. It took 2 or 3 more minutes to puncture the whistle and 4–5 minutes to paint the figuring after firing.
If you blow air into the jug, the toy makes an agreeable whistle. Such jugs with holes and a resonator were made ‘on the finger’. First, the sisters flattened a ball of clay and wrapped it around the index finger. On one end they made a mouthpiece — the part that should be put in or against the mouth when whistling. The cylinder with the mouthpiece was then removed from the finger. The lower part was flattened and joined smoothly so that there were no holes left. Thus, the cavity was ready.
Several more holes enabled the airflow escape outside from the cavity during the whistle. But before that, as the masters said, the toy had to ‘tighten up’ a little—that is, to dry up. The Goncharova sisters usually pierced the whistle in an hour and a half after finishing the toy.
Piercing the whistle holes is a crucial moment that requires the artisan’s skill and knowledge. If the whistle hissed instead of whistling, then the artisan examined the hole, used a little stick to made some adjustments or remove the excess clay that had been left in the process of piercing or removing the stick. If necessary, the artisans added frets — two extra holes in the resonator chamber to adjust the sound.
Since old times, Stary Oskol clay toys were primarily made by women and children. As a rule, toys were made from the clay that the potter had prepared for other items — more often toys were made from the waste and the remains of the clay. The Goncharova sisters said that their mother would mold toys from the material that was in the house and that their father allowed to use.
Stary Oskol artisans used different types of clays. For toys, they preferred the clay-sand that turned white after firing. It could be dug up in the upper reaches of Melovaya Street. A little less often, the clay that turned red after firing was used, from which more durable toys were obtained.
